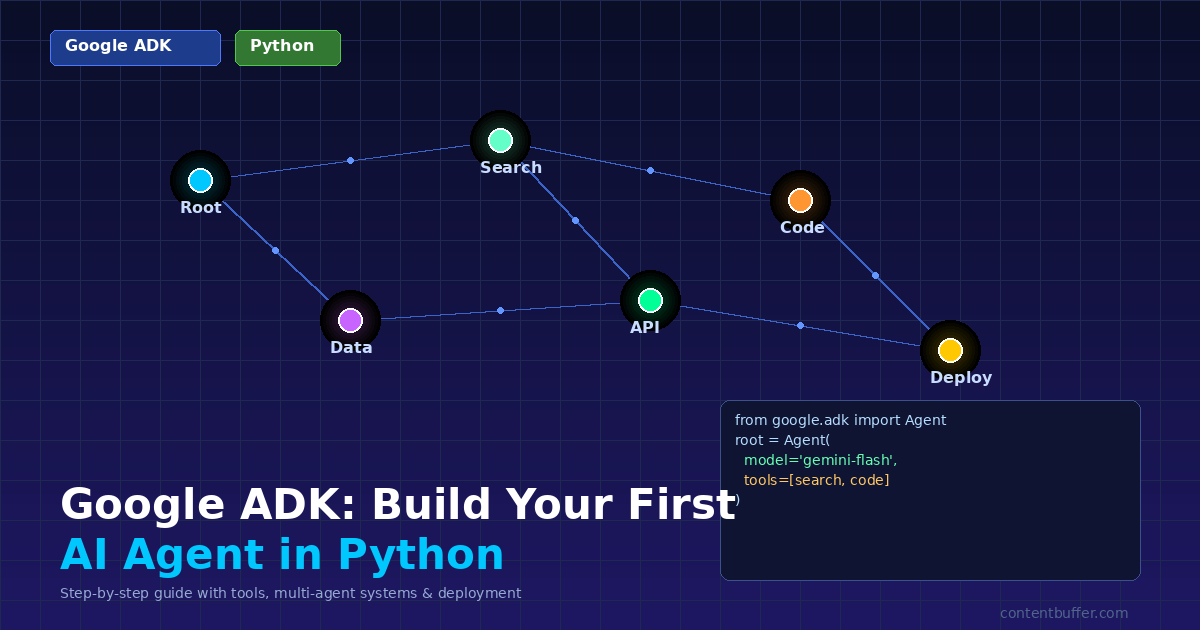
Google ADK: Build Your First AI Agent in Python
Summary
Step-by-step guide to building, testing, and deploying AI agents with Google Agent Development Kit
What Is Google ADK?
Google Agent Development Kit (ADK) is an open-source framework for building production-grade AI agents. It gives you pre-built components for reasoning, tool use, memory, and multi-agent orchestration — all optimized for Gemini but compatible with Claude, Ollama, and other LLMs.
In this guide, you'll go from zero to a working AI agent with custom tools, then extend it into a multi-agent system.
Prerequisites
- Python 3.10 or higher installed
- A Google AI Studio API key (get one free here)
- Basic Python knowledge (functions, pip)
Step 1: Install Google ADK
Create a virtual environment and install the ADK package:
# Create and activate virtual environment
python3 -m venv .venv
source .venv/bin/activate    # macOS/Linux
# .venv\Scripts\activate.bat  # Windows

# Install ADK
pip install google-adk
Step 2: Scaffold Your Agent Project
ADK has a built-in CLI to scaffold projects instantly:
adk create my_agentThis creates the following structure:
my_agent/
├── __init__.py
├── agent.py       # Your agent logic
└── .env           # API key config
Step 3: Configure Your API Key
Add your Google API key to the .env file:
# my_agent/.env
GOOGLE_API_KEY="your-api-key-here"
Step 4: Write Your First Agent
Open my_agent/agent.py and replace the contents with:
from google.adk.agents.llm_agent import Agent


def get_weather(city: str) -> dict:
    """Returns current weather for a given city."""
    mock_data = {
        "new york": {"temp": "72°F", "condition": "Sunny"},
        "london": {"temp": "15°C", "condition": "Cloudy"},
        "tokyo": {"temp": "25°C", "condition": "Clear"},
    }
    result = mock_data.get(city.lower(), {"temp": "N/A", "condition": "Unknown"})
    return {"status": "success", "city": city, **result}


def get_time(city: str) -> dict:
    """Returns the current time in a given city."""
    import datetime
    offsets = {"new york": -4, "london": 0, "tokyo": 9}
    offset = offsets.get(city.lower(), 0)
    now = datetime.datetime.utcnow() + datetime.timedelta(hours=offset)
    return {"status": "success", "city": city, "time": now.strftime("%I:%M %p")}


root_agent = Agent(
    model="gemini-2.0-flash",
    name="travel_helper",
    description="A helpful travel assistant.",
    instruction=(
        "You are a travel assistant. Use get_weather to check "
        "weather and get_time to check local time. Always be "
        "friendly and concise."
    ),
    tools=[get_weather, get_time],
)
Key takeaway: Plain Python functions become agent tools automatically. ADK reads the function signature and docstring to tell the LLM what each tool does.
Step 5: Run Your Agent
You have two options to interact with your agent:
Option A — CLI Mode
adk run my_agentExample interaction:
You: What's the weather in Tokyo?
Agent: The weather in Tokyo is 25°C and Clear!

You: And what time is it there?
Agent: It's currently 07:30 PM in Tokyo.
Option B — Web UI Mode
adk web --port 8000Open http://localhost:8000 in your browser. You get a full chat interface with tool call visualization and session history.
Step 6: Add a Sub-Agent (Multi-Agent)
ADK shines with multi-agent systems. Let's add a specialist sub-agent that handles restaurant recommendations:
from google.adk.agents.llm_agent import Agent


def search_restaurants(city: str, cuisine: str) -> dict:
    """Search restaurants by city and cuisine type."""
    return {
        "status": "success",
        "results": [
            {"name": f"Best {cuisine} in {city}", "rating": 4.8},
            {"name": f"{cuisine} House {city}", "rating": 4.5},
        ],
    }


# Specialist sub-agent
food_agent = Agent(
    model="gemini-2.0-flash",
    name="food_expert",
    description="Finds restaurants and food recommendations.",
    instruction="Help users find great restaurants. Use search_restaurants tool.",
    tools=[search_restaurants],
)

# Root agent delegates to food_expert
root_agent = Agent(
    model="gemini-2.0-flash",
    name="travel_helper",
    description="A helpful travel assistant.",
    instruction=(
        "You are a travel assistant. Handle weather and time yourself. "
        "Delegate restaurant questions to food_expert."
    ),
    tools=[get_weather, get_time],
    sub_agents=[food_agent],
)
Now the root agent automatically delegates restaurant questions to food_expert using ADK's built-in transfer_to_agent mechanism.
Step 7: Use Workflow Agents
ADK provides three workflow patterns for deterministic control:
| Pattern | What It Does | Use Case |
|---|---|---|
| SequentialAgent | Runs sub-agents one after another | Multi-step pipelines (research then draft then review) |
| ParallelAgent | Runs sub-agents at the same time | Fetch data from multiple sources simultaneously |
| LoopAgent | Repeats sub-agents until a condition is met | Iterative refinement (generate then critique then improve) |
Example — a sequential pipeline:
from google.adk.agents import SequentialAgent

pipeline = SequentialAgent(
    name="research_pipeline",
    sub_agents=[data_collector, summarizer, formatter],
)
Core Concepts Quick Reference
| Concept | Description |
|---|---|
| Agent | LLM-powered entity with instructions and tools |
| Tool | Python function the agent can call (auto-detected from signature) |
| Session | Conversation memory that stores chat history and state |
| Runner | Engine that orchestrates the agent loop (reason, act, observe) |
| State | Shared key-value store agents use to pass data between each other |
| sub_agents | Child agents that a parent can delegate tasks to |
Deployment Options
When you're ready to deploy:
- Local container:
adk deploy cloud_run --project YOUR_PROJECT - Google Agent Engine: Managed hosting with built-in auth and monitoring
- Cloud Run / GKE: Full Kubernetes deployment for enterprise scale
- Any server:
adk api_serverexposes your agent as a REST API
What to Build Next
- Connect a real API (weather, news, database) as a tool
- Add session memory with
InMemorySessionServicefor persistent conversations - Build a 3-agent pipeline: researcher, writer, and editor
- Enable A2A protocol so your agent can talk to other ADK agents
- Deploy to Google Cloud Run for production use
Resources
Comments
Be the first to comment
Found this useful?
Get new AI guides for builders by email. Free.
Join 2,042 builders reading daily.