GPT-5.4 Computer Use: Build a Desktop AI Agent Guide
Summary
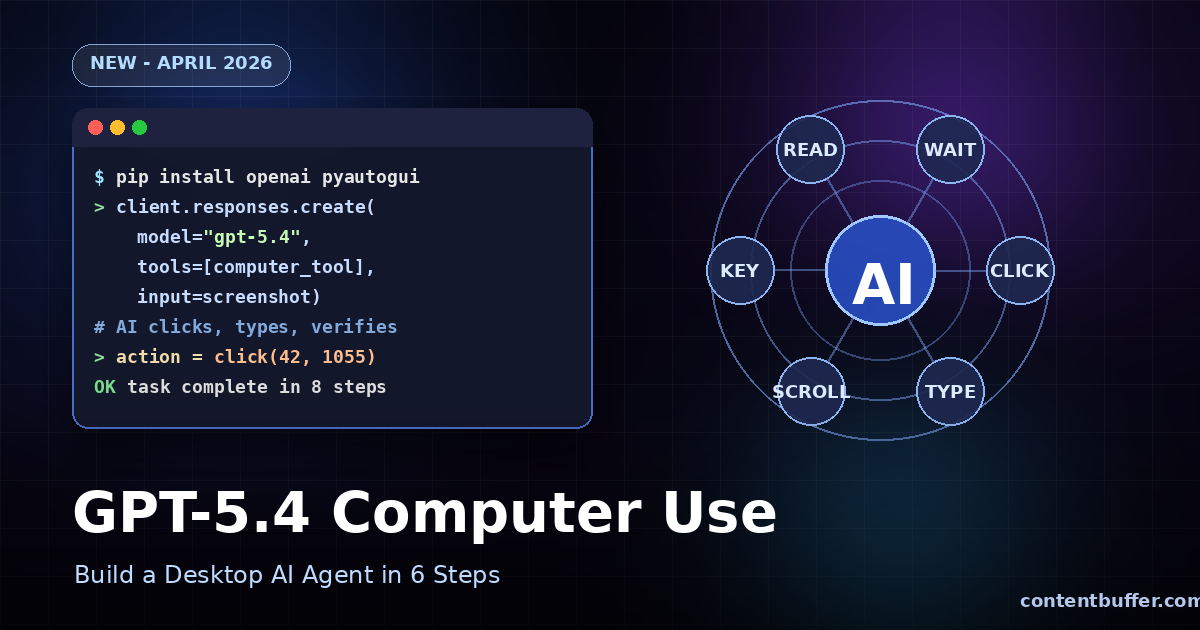
Automate desktop tasks with GPT-5.4's native computer-use API in six simple, tested steps.
Why GPT-5.4 Computer Use Matters
GPT-5.4 is the first mainline OpenAI model shipped with native computer-use. It can see your screen, click buttons, type text, and verify its own work in a build-run-verify-fix loop.
It scores 75% on OSWorld, beating the human expert baseline of 72.4%. You give it a task and a screenshot; it returns precise mouse and keyboard actions you execute locally.
Prerequisites
- Python 3.10+
- OpenAI API key with Tier 1 access (minimum $5 prior spend)
- A desktop environment with a display
- pip packages: openai, pyautogui, pillow
Step 1: Install the SDK
Upgrade openai to ensure you have the computer_use tool type. Install pyautogui for executing actions and Pillow for screenshots.
pip install --upgrade openai pyautogui pillowStep 2: Take a Screenshot
GPT-5.4 needs a picture of your screen to reason about. Capture it and convert it to base64.
import pyautogui, base64, io

def capture_screen():
    img = pyautogui.screenshot()
    buf = io.BytesIO()
    img.save(buf, format="PNG")
    return base64.b64encode(buf.getvalue()).decode()

screen_b64 = capture_screen()
Step 3: Configure the Computer Use Tool
Tell GPT-5.4 your display size so it returns pixel-accurate coordinates.
from openai import OpenAI
import pyautogui

client = OpenAI()
w, h = pyautogui.size()

computer_tool = {
    "type": "computer_use",
    "display_width": w,
    "display_height": h,
    "environment": "linux"  # or "mac", "windows"
}
Step 4: Send the First Request
Give the model a task plus the screenshot. It responds with an action.
response = client.responses.create(
    model="gpt-5.4",
    tools=[computer_tool],
    input=[{
        "role": "user",
        "content": [
            {"type": "input_text", "text": "Open Firefox and search for 'agentic AI'"},
            {"type": "input_image", "image_url": f"data:image/png;base64,{screen_b64}"}
        ]
    }]
)

print(response.output[0])
Example Output
{
  "type": "computer_call",
  "action": {
    "type": "click",
    "x": 42,
    "y": 1055,
    "button": "left"
  },
  "call_id": "call_abc123"
}
Step 5: Execute the Action Locally
Map the model's action to pyautogui calls. Keep a safety check so nothing runs without you.
import pyautogui

def run_action(action):
    t = action["type"]
    if t == "click":
        pyautogui.click(action["x"], action["y"], button=action.get("button", "left"))
    elif t == "type":
        pyautogui.typewrite(action["text"], interval=0.02)
    elif t == "key":
        pyautogui.hotkey(*action["keys"])
    elif t == "scroll":
        pyautogui.scroll(action["dy"])
    elif t == "screenshot":
        pass  # handled in loop

run_action(response.output[0]["action"])
Step 6: Loop Until Task Complete
After each action, send a fresh screenshot plus the call_id. Stop when the model returns a final message instead of a computer_call.
prev_id = response.id
call_id = response.output[0]["call_id"]

while True:
    screen_b64 = capture_screen()
    resp = client.responses.create(
        model="gpt-5.4",
        previous_response_id=prev_id,
        tools=[computer_tool],
        input=[{
            "type": "computer_call_output",
            "call_id": call_id,
            "output": {"type": "input_image",
                       "image_url": f"data:image/png;base64,{screen_b64}"}
        }]
    )
    out = resp.output[0]
    if out["type"] != "computer_call":
        print("Done:", out.get("content"))
        break
    run_action(out["action"])
    prev_id, call_id = resp.id, out["call_id"]
Supported Actions at a Glance
| Action | Purpose | Key Fields |
|---|---|---|
| click | Mouse click | x, y, button |
| type | Keyboard input | text |
| key | Hotkey combo | keys[] |
| scroll | Scroll page | dx, dy |
| screenshot | Re-observe | none |
| wait | Pause for UI | ms |
Pro Tips
- Run in a sandbox or VM — agents sometimes click unexpected things.
- Cap iterations at 20–30 to avoid runaway loops.
- Use the Responses API with previous_response_id for state.
- Log every action and screenshot for debugging.
- Scale your display if coordinates seem off on HiDPI screens.
Next Steps
Start with a tiny task like 'open calculator and compute 42 * 7'. Once the loop feels stable, graduate to multi-app workflows — scraping a dashboard, filing a report, or testing a web app end-to-end.
GPT-5.4 Computer Use turns desktop automation into a plain-English conversation. Build your first agent today, and you'll never script brittle Selenium again.
Comments
Be the first to comment
Found this useful?
Get new AI guides for builders by email. Free.
Join 2,043 builders reading daily.